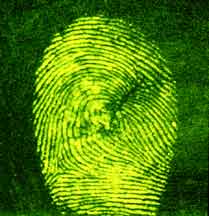
Monday, November 28, 2011

History of Hair/Fiber Analysis

French scientist Edmond Locard discovered that people constantly pick up and transfer bits of dust, hair, fibers and other "trace" material without being conscious of it. Locard realized that these material exchanges were key to analyzing a crime scene, and the "Locard Exchange Principle" became the foundation of forensic science in the early 1900s.

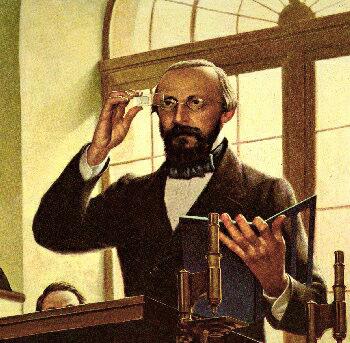
German pathologist Rudolf Virchow later showed that hairs were not unique enough to positively match a particular suspect to a particular victim.

In the United States, Paul L. Kirk established the fundamentals of microscopic hair analysis used by scientists today, and his groundbreaking textbook, "Crime Investigation," is still an important text in criminal investigation.


Sunday, November 27, 2011

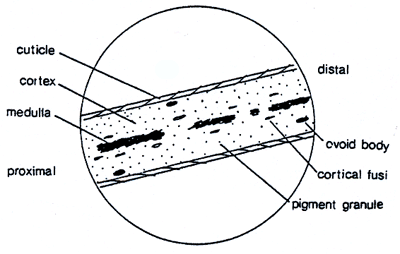
Picture and Labeled Parts of a Complete Hair

Under a 3D microscope, this is what a hair would look like if you were able to label each part:

Major Types of Fibers (Not Hairs)

There are two types of fibers: synthetic (man-made) and natural (from plants/ naturally made)
Some synthetic fibers are:
Polyester
Nylon
Acrylic
Kevlar

Acetate

Some natural fibers are:
Bamboo
Spider silk
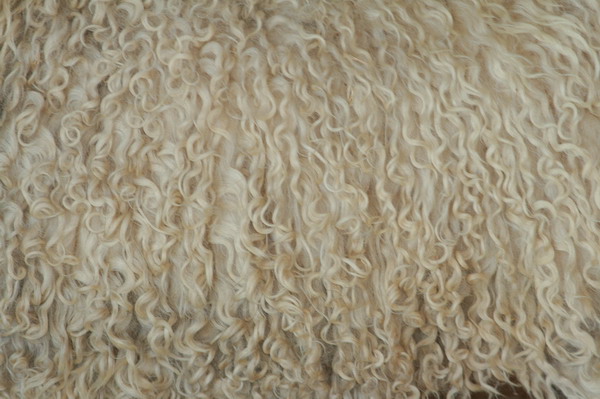
Animal hairs made into fibers (Wool, Angora, etc)
Flax
Cotton


These are all used for a variety of things, such as making wigs, ropes, clothing, and even bulletproof vests.

Hair/Fiber Collection Techniques

A crime scene investigator (CSI) may use combs, tweezers, containers and a filtered vacuum device to collect any hair or fibers at the scene. In a rape case with a live victim, the CSI accompanies the victim to the hospital to obtain any hairs or fibers found on the victim's body during the medical examination. The CSI seals any hair or fiber evidence in separate containers for transport to the lab.If the person at the crime scene is already dead, the CSI only collects fibers that would not alter the process of determining the cause of death.

Typical Hair/Fiber Analysis

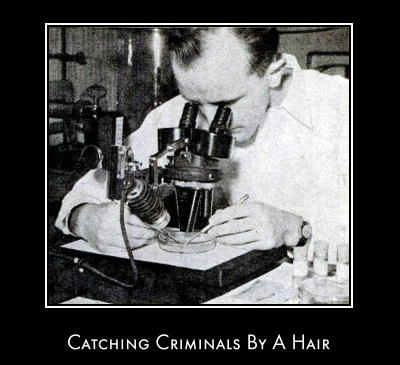
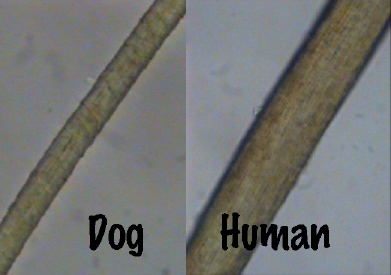
Scientist analyze hair and fibers by looking at them under a microscope. After the hair or fiber is positioned correctly under the microscope, the scientist compares it to a range of other hairs or fibers that are possibilities of being an exact match, most of the time collected from the crime scene or the suspect's property. Once they find an exact match, they try to make a connection between the analysis and the crime scene, or in other words, to see if it is useful the proving the suspect guilty.

Reliability of Hair/fiber crime scene data

In most cases, where tissue is left on the hair, hair/fiber analysis is 100% accurate, due to scientist being able to extract DNA from the tissue to create an exact match. When there is no left over tissue present though, the list of possible people who could have shed the hair is very drastically narrowed. It is narrowed by the scientist being able to pinpoint the hair to certain races or types, such as black people hair, Caucasian hair, color-treated hair, Asian hair, a specific animal hair, or synthetic hairs, such as cotton, nylon, polyester, or wool. Also, if they find that the hair sample is complete, as in it was not cut, tore, or tampered in anyway, they can use the hair length to even shorten the list of possibilities, because a man with a shaved head is not going to have the same hair length of a woman with hair down to her waist.

Friday, November 25, 2011

Famous Case where Hair/Fiber Analysis was used

One famous case that was solved using hair/fiber analysis was that against Dr. Jeffrey MacDonald, Army captain and Green Beret, who in 1970 was accused of murdering his two children and pregnant wife. He claimed that armed men came into his house and killed them, and then attacked him, but he was able to fend them off. Investigators proved this testimony a lie when the blue fiber that created Dr. MacDonald's clothes were found inside of some of his wounds, which led investigators to imply they were self-inflicted. Also, the same fibers were found under the body of his dead wife, in the room in which his children were killed, and the blue fibers were found under a fingernail of his murdered daughter.

Tuesday, November 22, 2011

History of Fingerprinting

Fingerprinting is the science of taking imprints of a person's fingers for the purpose of establishing personal identification. Forensic science has proven that the probability of two people having the same exact fingerprints is impossible, and it has been concluded that fingerprinting is a undeniable way of identification.

It's difficult for historians to point to the one time as the first instance of the fingerprinting process. There is proven evidence of the use of fingerprinting in ancient civilizations, most notably during the building of the pyramids in Egypt around 2000 B.C. Also, it is proven during the 3rd Century B.C. that the Chinese utilized fingerprints as a testament on official documents and used in court litigation proceedings. However, William J. Herschel, who is known as the first person to implement the practical application of fingerprinting, took issue with the Chinese employment of the fingerprinting process because he felt that they used fingerprinting as part of a spiritual practice, not as a systematic identification of individuals. He also believed that the prints were fingermarks, not fingerprints. Lastly, in Persia around 1350, government papers appeared to be fingerprinted to make them official documents, but there were no confirmations of the documented use of fingerprints for identification purposes during this time.
William James Herschel
Back to the aforementioned Herschel who, in 1858, was an English administrator assigned to the jurisdiction of Hooghly near Calcutta, India. Herschel was concerned about the residents of Hooghly getting their pensions, and he was concerned about establishing veracity in court regarding business dealings with the Government. So, in 1858, he made a construction builder, by the name of Rajyadhar Konai, put a print of his palm and fingers on an official business transaction form since Mr. Konai could not write. As far as historians and others alike know, this became the first documented application of fingerprints. Herschel also had jurisdiction over the jails, so he systematically fingerprinted the inmates and kept records of all fingerprints on file.
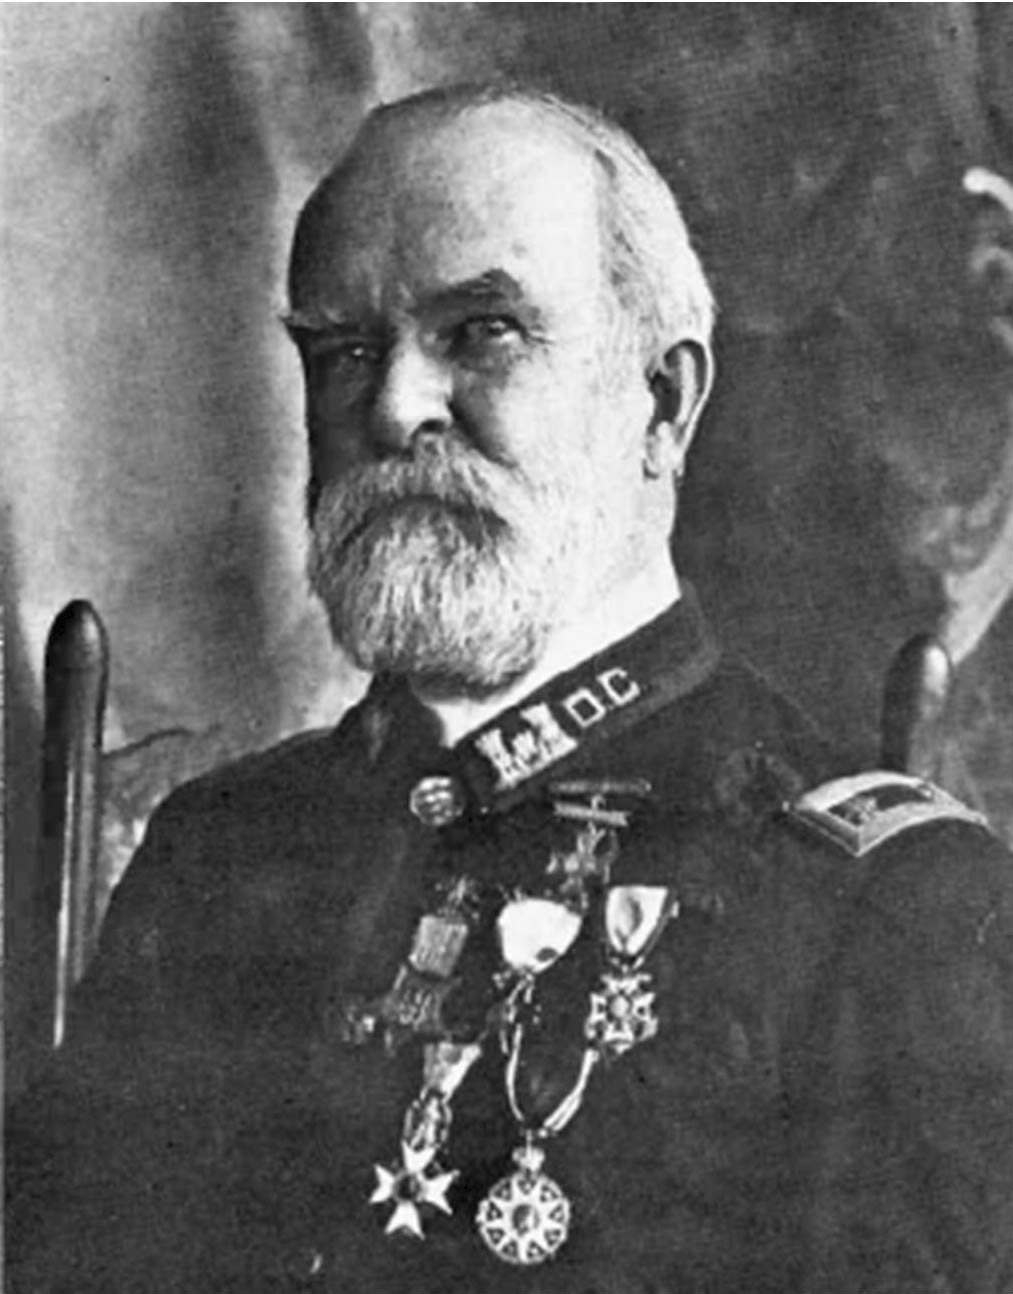
Next, history continued with a Scottish doctor named Henry Faulds who was a contemporary of Herschel, although a sworn enemy, as both men tried to mark their place in history by claiming they each were the "Father of Fingerprinting." Faulds' vast works were impressive and valuable to the science of fingerprinting for his time. While working in a hospital in Tokyo, Japan, in 1874, Faulds recorded fingerprints and concluded that fingerprint patterns could not change and they could be lifted by having ink applied to the print, then having a surface such as paper lift it and create a recordable version.. Faulds was also able to lift a fingerprint from a bottle of whiskey, and thus received credit for the first identification of a fingerprint.
Henry Faulds
The first evidence of the use of fingerprints in the United States was by a surveyor in New Mexico by the name of Gilbert Thompson who, in 1882, put his own prints on a survey to prevent forgery. The first recorded use of fingerprint identification in a criminal matter dates back to 1892 when an Argentinean Police Commodore by the name of Juan Vucetich took prints off a door post to nail a murderer. The use of fingerprint identification as a means of solving criminal cases advanced quickly as both Scotland Yard and the U.S.A. implemented the use of fingerprints by the turn of the 20th Century.
Gilbert Thompson
The use of fingerprinting became standard operating procedure in the United States and, in 1924, Congress endowed the Federal Bureau of Investigation (F.B.I.) with the authority to establish an Identification Division. This centralized all fingerprinting files and made it much easier to identify repeat criminals and missing persons. Today the F.B.I. uses a computerized system to contain the fingerprints of some 34 million criminals. This is especially helpful because the recidivism rates are extremely high, except in those crimes of passion, such as manslaughter which generally is a non-repetitive crime.

Types of Fingerprints

First, patent prints, also called direct prints, are visible prints that occur when a foreign substance on the skin of a finger comes in contact with the smooth surface of another object. These prints leave a distinct ridge impression that is visible with the naked eye without technological enhancement of any kind. The tried and true "blood on his hands" evidence is an example of patent prints recovered from a crime scene or scene of interest to investigators. These foreign substances contain dust particles which adhere to the ridges of the fingers and are easily identifiable when left on an object.
 Patent Fingerprint
Next, plastic prints are visible, impressed prints that occur when a finger touches a soft, malleable surface resulting in an indentation. Some surfaces that may contain this type of fingerprint are those that are freshly painted or coated, or those that contain wax, gum, blood or any other substance that will soften when hand held and then retain the finger ridge impressions. These prints require no enhancement in order to be viewed, because they are impressed onto an object and are easily observable.
 Comparing a plastic fingerprint (in clay) to another fingerprint.
Continuing, latent prints are fingerprint impressions secreted in a surface or an object and are usually invisible to the naked eye. These prints are the result of perspiration which is derived from sweat pores found in the ridges of fingers. When fingers touch other body parts, moisture, oil and grease adhere to the ridges so that when the fingers touch an object, such as a lamp, a film of these substances may be transferred to that object. The impression left on the object leaves a distinct outline of the ridges of that finger. These fingerprints must be enhanced upon collection and, because they serve as a means of identifying the source of the print, they have proven to be extremely valuable over the years in the identification of its source.
Prints found on a bottle with the help of a dark powder
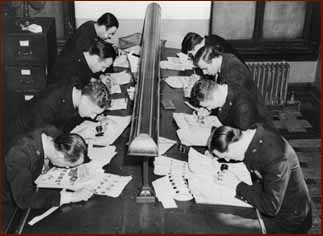
Lastly, exemplar prints, or known prints, is the name given to fingerprints deliberately collected from a subject, whether for purposes of enrollment in a system or when under arrest for a suspected criminal offense. During criminal arrests, a set of exemplar prints will normally include one print taken from each finger that has been rolled from one edge of the nail to the other, plain (or slap) impressions of each of the four fingers of each hand, and plain impressions of each thumb. Exemplar prints can be collected using Live Scan or by using ink on paper cards.
 A sample of a fingerprint identification card by the FBI

Sunday, November 20, 2011

Basic Shapes of Fingerprints

1. Arch 
In arches, the ridges of the finger run continuous from one side of the finger to the other with no curving. There are two sub-groups that further define the arch pattern:
Plain Arch - this pattern has a consistency of flow to it. It starts on one side of the finger, and then the ridge cascades upward slightly, almost resembling a wave out on the ocean. The plain arch then continues its journey along the finger to the other side. The plain arch is the simplest of the fingerprint patterns to discern.
Tented Arch - this pattern is similar to the plain arch in that it starts on one side of the finger and flows out in a similar pattern to the other side. However, the difference in the tented arch lies in the ridges in the center, which are not continuous as in the case of the plain arch. The ridges, which adjoin each other in the center, converge and thrust upward, giving the impression of a pitched tent.
Tented Arch
2. Loop
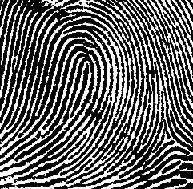
In loops, the ridges make a backward turn but do not twist. This backward turn, or loop, is differentiated by how the loop flows on the hand and not how it flows on the card on which the imprint is taken. The imprint on the fingerprint card is similar to the reverse image we see when we look in the mirror at ourselves. There are two sub-groups that were identified in this category: 
Radial Loop - these are loops that flow toward the radius bone of the hand or, in other words, when the downward slope of the loop is from the direction of the little finger toward the thumb of the hand. 
Ulnar Loop - these are loops that flow toward the ulna bone of the hand or, in other words, when the downward slope of the loop is from the direction of the thumb toward the little finger of the hand. 
Ulnar Loop
3. Whorls
In whorls, there are patterns in which there are two or more deltas (first ridge nearest the divergence point of two type lines) and there exists a recurve preceding each delta. There are four sub-groups of whorls: 
Plain Whorl -  in these whorls, the ridges make a turn of one complete circuit and, therefore, are circular or spiral in shape. The plain whorl is the simplest form of whorl and the most common. There are at least two deltas and a ridge whose circuit may be spiral, oval or circular in shape.
Central Pocket -  in these whorls, one or more of the simple recurves of the plain whorl curves a second time.
Double Loop -  in these whorls, there are two separate loop formations. In each of these formations, there are two entirely separate and distinct sets of shoulders and deltas.
Accidental Whorl -  in these whorls, the composition of the pattern is derived from two distinct types of patterns with at least two deltas. Whorls which contain ridges matching the characteristics of a particular whorl sub-grouping are classified as accidental whorls. 
 Plain Whorl
4. Composites
In composites, there are patterns found in fingerprints which are combinations of arch, loop and whorl. Henry J. Herschel subdivided the composites into four sub-groups:
Central Pocket Loop - these loops curve a second time forming a pocket within the loop.
Twinned Loop - also referred to as the Double Loop, these loops consist of two separate loop formations.
Lateral Pockets Loop - these loops are similar to the Twinned Loop except that their ridges bend sharply down on one side before recurving, actually forming a pocket. The F.B.I. finds it too difficult to locate these two loops, and classifies both kinds as Double Loops.
Accidental Loops - these loops are a combination of any two types of pattern with the exception on the plain arch that basically has no pattern. 
 Accidental loops

Techniques Used to Develop Fingerprints and Procedure for Collecting Them

Fingerprints can be left on two contrasting surfaces: Non-Porous and Porous
Non- Porous
Prints are easily left on non-porous surfaces such as glass, wood, and painted areas. In order to recover those prints, the method of dusting is normally required.
An investigator dusting a wooden door, a non-porous surface, to find fingerprints.
Dusting is a common method to find fingerprints on non-porous surfaces. It starts by the area where the print  is located is lightly dusted with a dusting brush and the corresponding colored powder, which depends on the background shade/coloring. Then the dust is lifted with tape and set against a contrasting background to make the print easily visible.
Black Dust: White or Light colored Surfaces
Grey or White Dust: Dark Surfaces
Fluorescent Dust: Multi-Colored Surfaces
Magnetic Dust: Leather or Rough Surfaces
Fingerprint found using fluorescent powder.
Porous
Prints left on fiber-like surfaces such as paper and cloth are called porous. In order to recover these prints, the use of chemicals is necessary. The various chemical methods for recovering fingerprints are Iodine Fuming, Ninhydrin, Silver Nitrate, and Super Glue Fuming.
Hand print found on clothing, a porous surface.

Iodine Fuming—The material that needs to be fingerprinted is placed into an enclosed cabinet along with iodine crystals. The crystals are heated and soon turn into a gaseous vapor. The vapor then causes the prints to appear.   
Ninhydrin- This method starts by spraying the chemical onto the surface of the material via an aerosol can. After a few hours, the prints begin to become visual. This process can be accelerated if the prints are heated up after application of the chemical.
Silver Nitrate- Mostly used as a last resort method when both Iodine Fuming and Silver Nitrate have failed. The silver nitrate is sprayed onto the surface of the porous material and is then left to dry. It is later exposed to ultraviolet light, which exposes the prints and allows examination.
Super Glue Fuming (also used on non-porous materials)-Super glue is placed on cotton and is treated with sodium hydroxide. The fumes are then created by heating the treated cotton.The fumes and object are placed inside a heated chamber for up to six hours and the fumes adhere to the print, exposing it.
Example of a fuming chamber